Temperature and Humidity Sensor
The Si-7021 is a temperature and humidity sensor from Si-Labs. It comes in a 3mm x 3mm DFN package. A breakout board with the necessary pullup resistors and voltage translator ICs can be purchased online at various places. I bought mine from AliExpress.
Parts needed
| Part number | Quantity | Where to Buy |
|---|---|---|
| BME280 | 1 | Link |
| Arduino Nano | 1 |
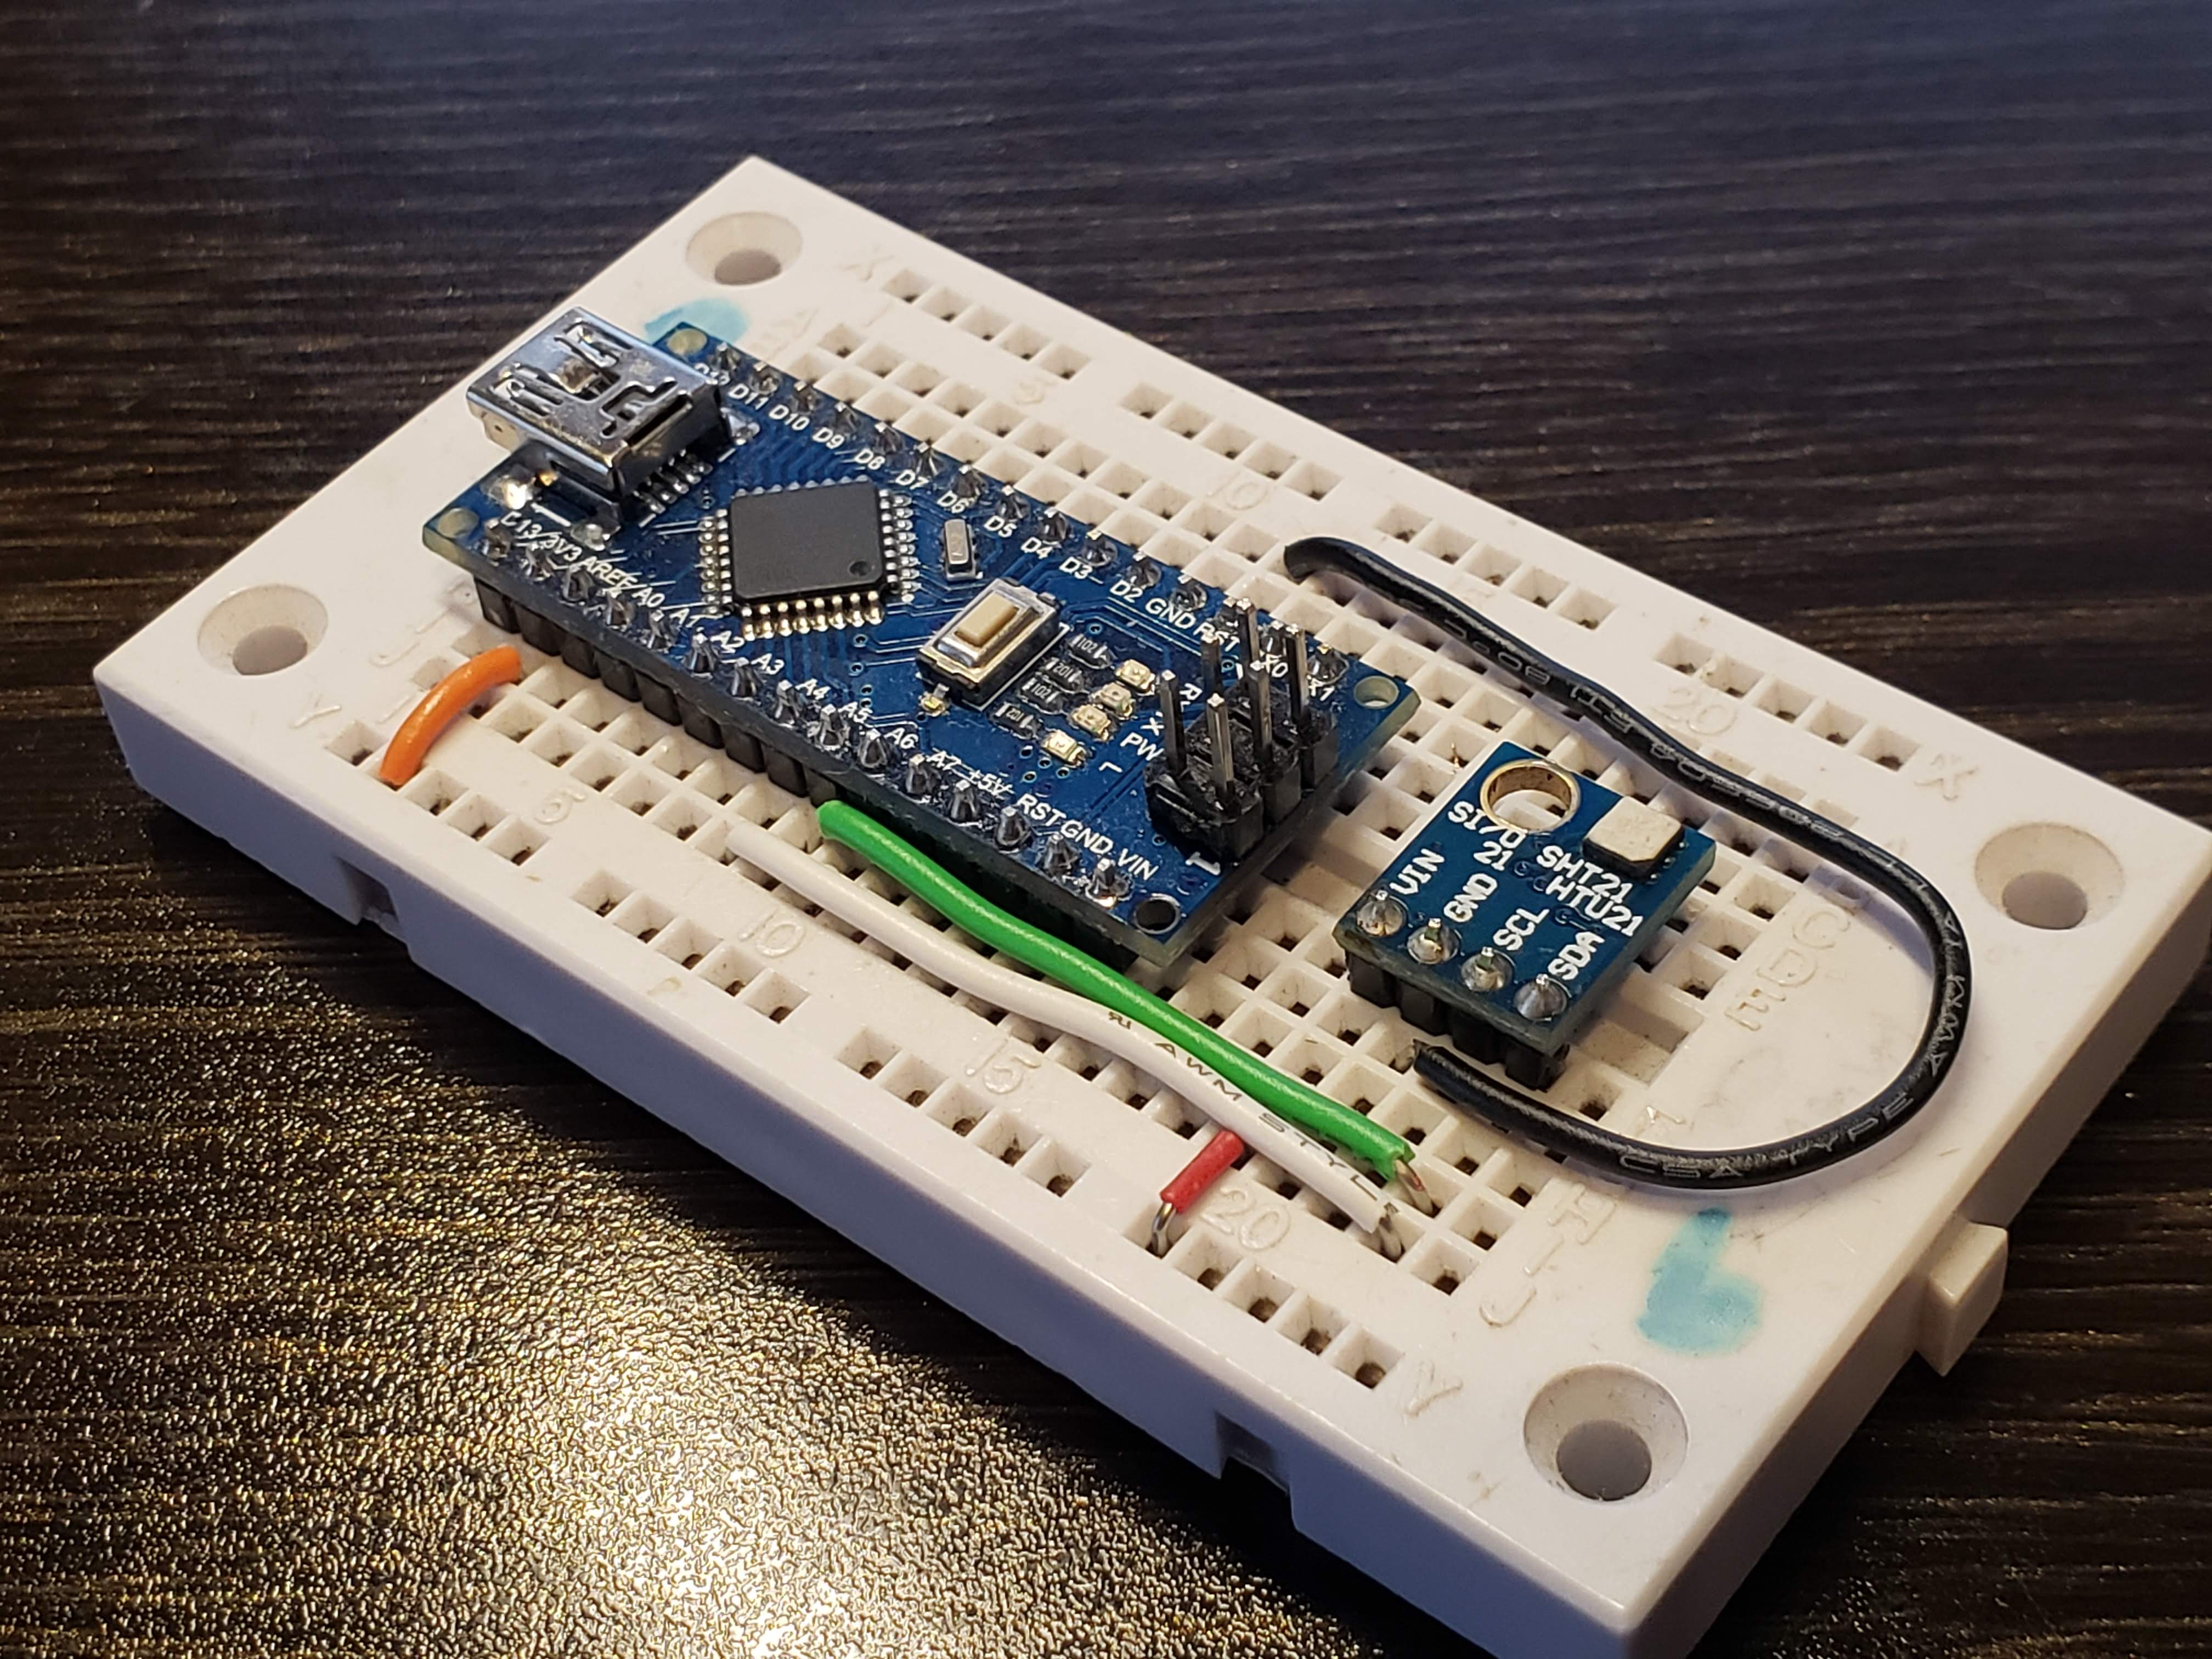
The sensor is communicated via I2C. Below is an image of what the board looks like. The address for the device is already set internally and cannot be changed.
Parts needed
| Part number | Quantity |
|---|---|
| Si7021 | 1 |
| Arduino Nano | 1 |
The table also shows the connection to an Arduino.
| Pin | Name | I/O Type | Description | I2C | Arduino Nano |
|---|---|---|---|---|---|
| 1 | VCC | In | Voltage in pin: 1.7V to 3.6V | VCC | +3.3V |
| 2 | GND | In | Ground pin | GND | GND |
| 3 | SCL | In | Serial Clock | SCL | A5 |
| 4 | SDA | In/Out | Serial Data In/Out | SDA | A4 |
Link to my Si7021 drivers for the Arduino can be found on my GitHub page: Here
The first part is to include the Si7021 library.
#include <Wire.h>
#include "si7021.h"
The next part is to define the baud-rate for the serial port. The device address is already set internally.
#define BAUD_RATE 115200
After setting up the library, baud-rate, and the device address, declare the global variables that will be used throughout the program. At a minimum, you need to declare the object Si7021 to use the sensor library.
float temperature; // Storing measured temperature reading
float humidity;    // Storing measured humidity reading

uint8_t chip_id; // Storing SI7021 Chip ID

SI7021 sensor_si7021;
Next is to write the setup function. Here, the I2C bus and the Serial port are initialized. The Si7021 sensor is started up as well. We look for the Chip ID to make sure the device is connected. Once the device is detected, we check for the firmware version for the board. This is optional. I only put that in there to make sure the read/write functionality of the device is working.
void setup()
{

    Wire.begin();
    Serial.begin(BAUD_RATE);

    Serial.println("SI-7021 - Temperature and Humidity Sensor\n");
    chip_id = sensor_si7021.begin();
    if (chip_id)
    {
        Serial.println("Deviced Detected:\tSi7021");
    }
    Serial.print("Firmware Version:\t");
    if (sensor_si7021.get_fw_rev() == 0xFF)
    {
        Serial.print("1.0");
    }
    else if (sensor_si7021.get_fw_rev() == 0x20)
    {
        Serial.print("2.0");
    }

    Serial.println("\n\nTemp\t\tHumidity");
    Serial.println("----------------------------------------------\r");
    getData();
}
The getData() Arduino function is shown below. It gets the temperature and humidity. This function is declared so you don’t have to keep repeating same commands over and over.
void getData()
{
    humidity = sensor_si7021.read_rel_humid();
    temperature = sensor_si7021.read_temp();
    Serial.print(temperature);
    Serial.print(" ºF \t");
    Serial.print(humidity);
    Serial.print(" % \t");
    Serial.print("\n");
}
Finally, the loop function is configured. You call the getData() function and then delay it a certain amount.
void loop()
{
  delay(10e3);
  getData();
}
If everything runs correctly, you should get the following output after programming the Arduino board:
Deviced Detected:	Si7021
Firmware Version:	2.0

Temp		Humidity
----------------------------------------------
75.43 ºF 	18.25 %
75.45 ºF 	17.82 %
That should get you going with the sensor. Now that it’s working with the Arduino board, you can use this sensor with any project. Stay tuned for a projected using this sensor.
Thanks for reading!