Temperature, Humidity, and Pressure Sensor
The BME280 is a combined digital temperature, humidity, and pressure sensor. It comes in a small 2.5 mm x 2.5 mm package. A breakout board with the necessary pullup resistors and voltage translator ICs can be purchased online at various places. I bought mine from AliExpress.
Parts needed
| Part number | Quantity | Where to Buy |
|---|---|---|
| BME280 | 1 | Link |
| Arduino Nano | 1 |
The sensor can be communicated via:
- Two Wire I2c
- 3 Wire SPI
- 4 Wire SPI
For this driver, I decided to go with I2C for a couple of reasons. One, it requires the least amount of wires and Two, even at I2C the device supports 3.4 MHz speed.
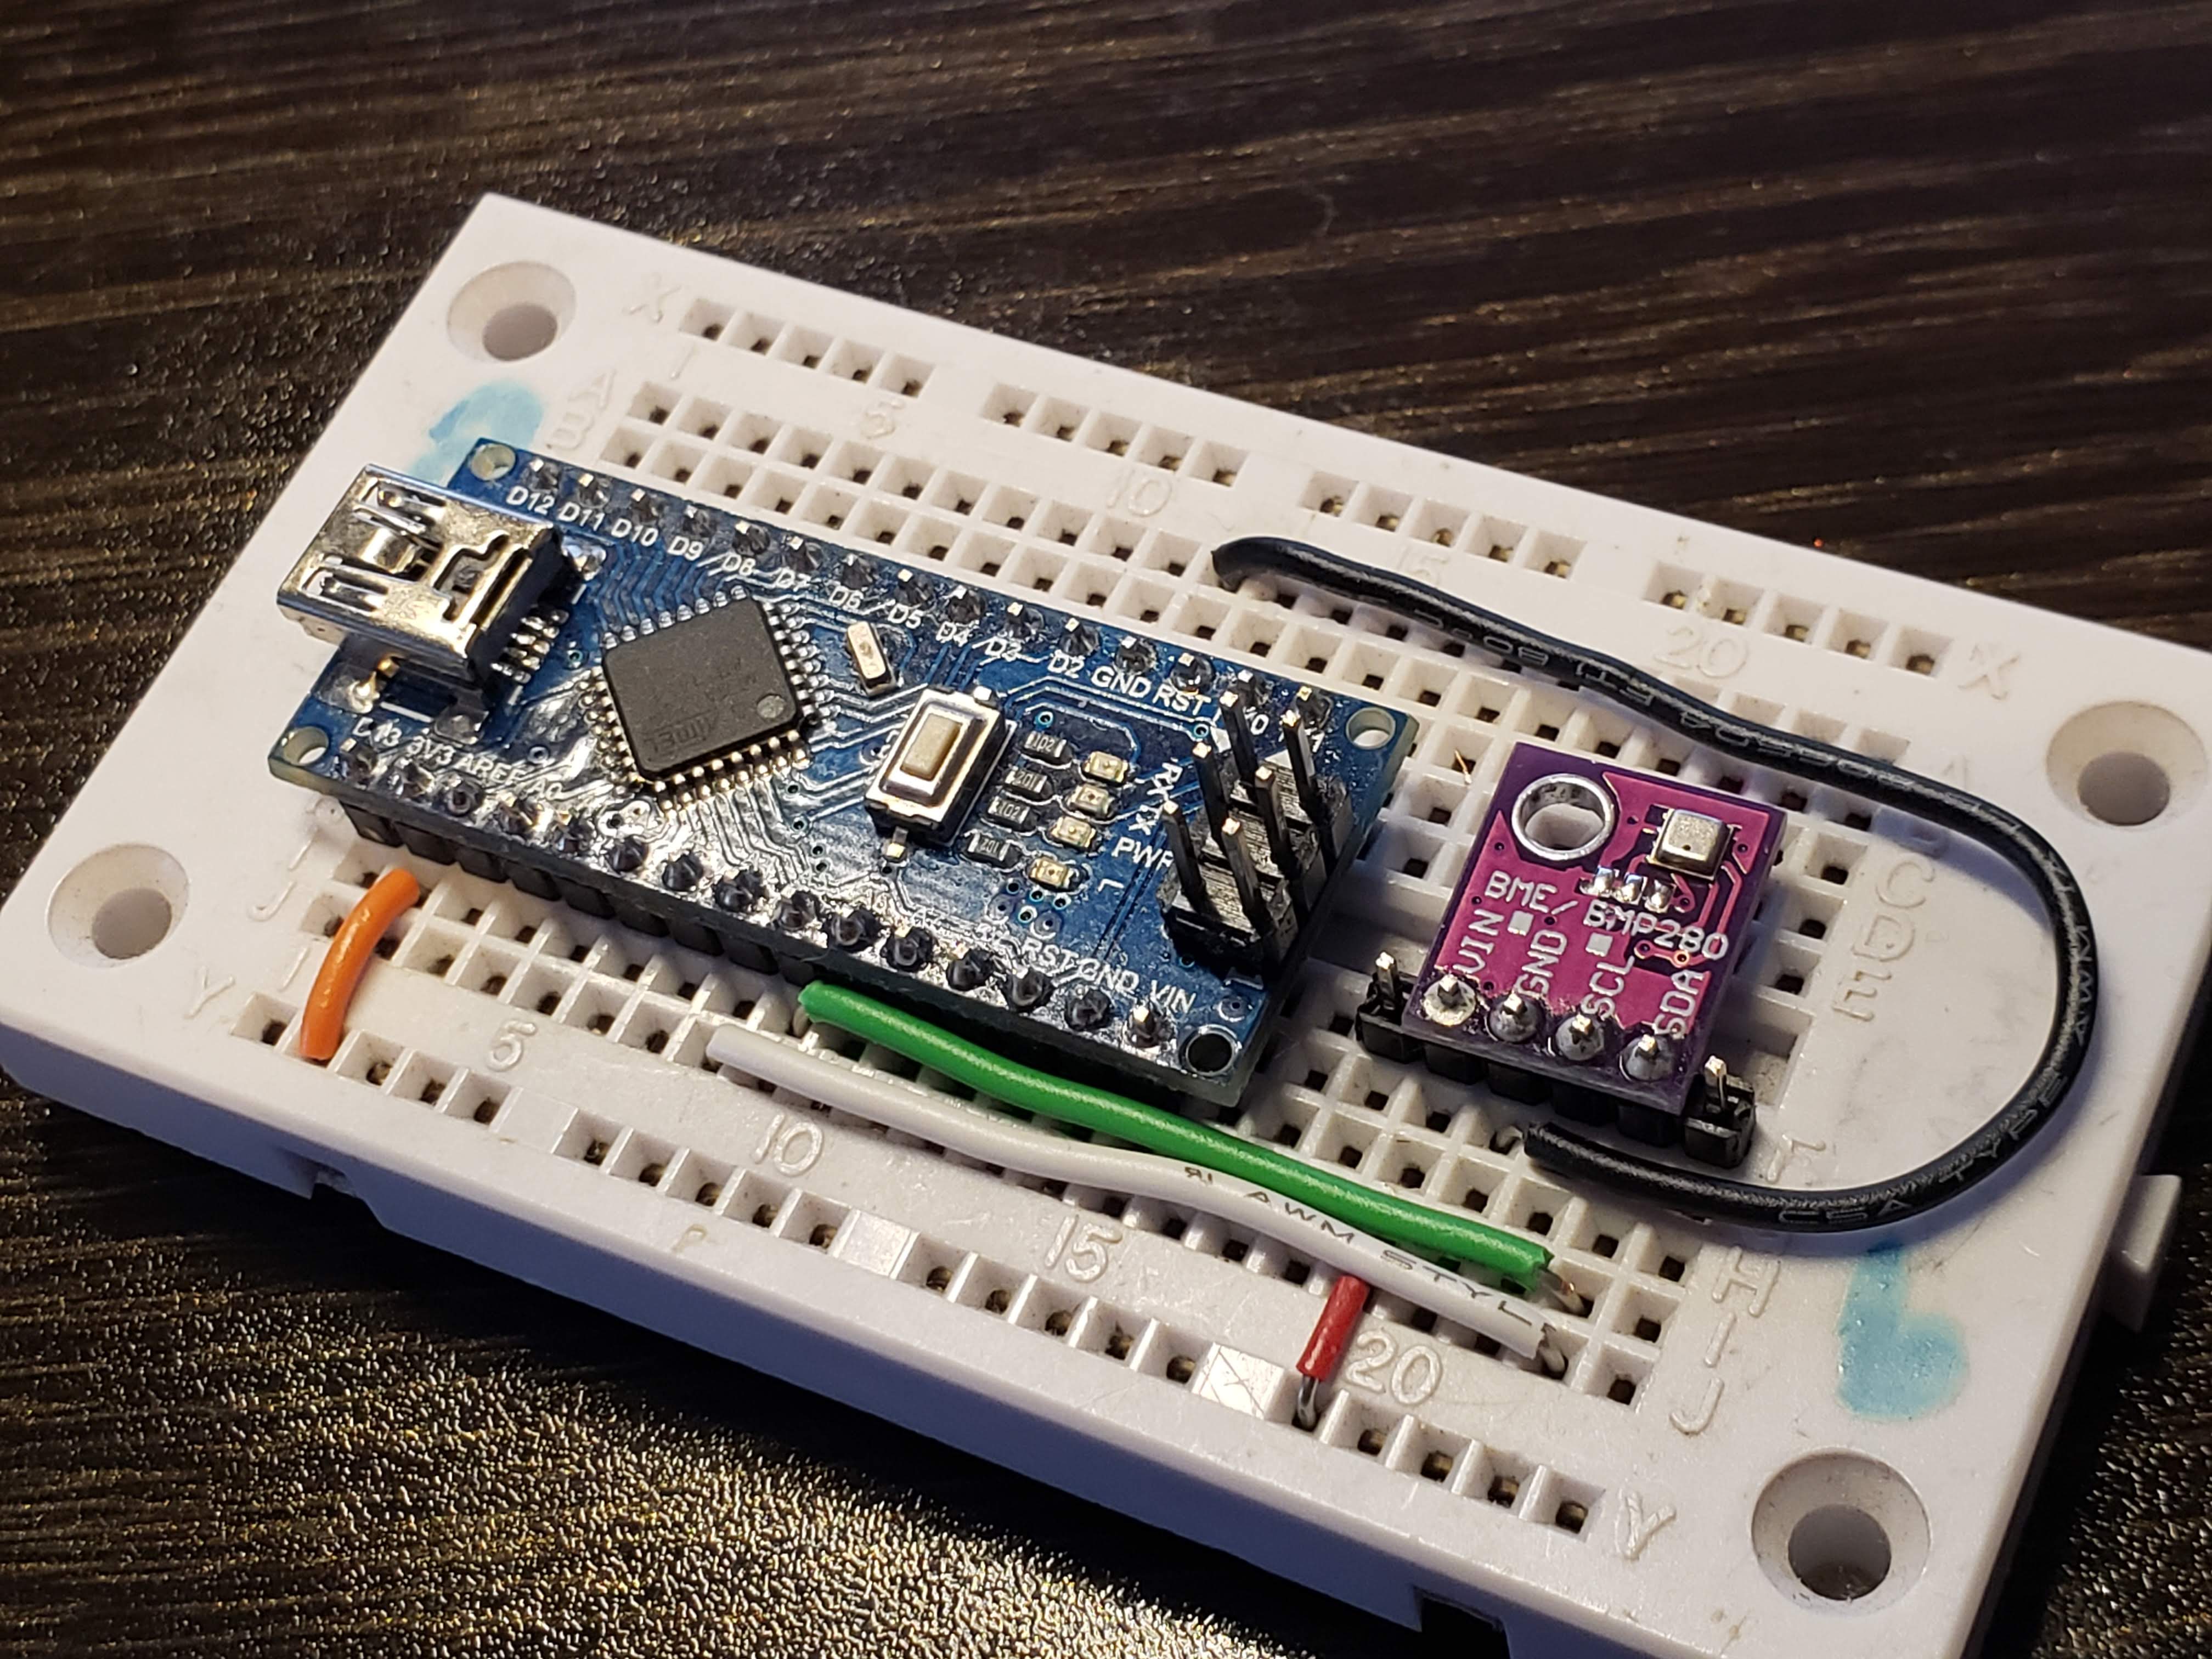
For this example, I will be using I2C to communicate with the sensor. When using I2C, the CSB pin is tied to VCC. The SDO pin is connected to GND, setting the device address to 0x76.
The table also shows the connection to an Arduino.
| Pin | Name | I/O Type | Description | I2C | Arduino Nano |
|---|---|---|---|---|---|
| 1 | VCC | In | Voltage in pin: 1.7V to 3.6V | VCC | +3.3V |
| 2 | GND | In | Ground pin | GND | GND |
| 3 | SCL | In | Serial Clock Pin | SCL | A5 |
| 4 | SDA | In/Out | Serial Data In/Out | SDA | A4 |
| 5 | CSB | In | Chip Select | Tie to VCC | +3.3V |
| 6 | SDO | Out | Serial Data Out | GND: I2C Addr = 0x76 VCC: I2C Addr = 0x77 | GND |
Link to my BME280 drivers for the Arduino can be found on my GitHub page: Here
The first part is to include the BME280 library.
#include <Wire.h>
#include "bme280.h"
The next part is to define the baud-rate for the serial port and the device address. In this case, the device address is set to 0x76.
#define BAUD_RATE 115200
#define dev_addr 0x76
After setting up the library, baud-rate, and the device address, declare the global variables that will be used throughout the program. At a minimum, you need to declare the object BME280 to use the sensor library.
float pressure;               // Storing measured pressure reading
float temperature;            // Storing measured temperature reading
float humidity;               // Storing measured humidity reading

uint8_t chip_id;              // Storing BME280 Chip ID

BME280 sensor_bme280;
Next is to write the setup function. Here, the I2C bus and the Serial port are initialized. The BME280 sensor is started up as well. The I2C address is set based on the connections of the SDO pin. We look for the Chip ID. It should return back in hex 0x60. If it does not, check the connections to the Arduino. After that, the oversampling settings for the temperature, pressure, and humidity readings are set.
The device also supports 2 different operating modes: Normal and Forced. In Normal mode, the sensor is always on. In Forced mode, when a reading is requested, the device turns on, returns the requested reading and then goes back to sleep. Forced mode is useful when running the sensor from a battery.
void setup()
{
  Wire.begin();
  Serial.begin(BAUD_RATE);

  sensor_bme280.settings.i2c_addr = dev_addr;           // Set the device i2c address

  Serial.println("BME280 - Temperature, Humidity, and Pressure Sensor\n");
  Serial.print("Chip ID = 0x");
  Serial.print(sensor_bme280.begin_i2c(), HEX);
  Serial.println("\n");

  sensor_bme280.set_humid_osrs(bme280_osrs_two);
  sensor_bme280.set_temp_osrs(bme280_osrs_two);
  sensor_bme280.set_pres_osrs(bme280_osrs_two);
  sensor_bme280.set_mode(bme280_forced_mode);

  Serial.println("Settings");
  Serial.println("----------------------------------------------\r");
  Serial.print("CTRL HUM\t0x");
  Serial.print(sensor_bme280.read_reg(bme280_ctrl_hum_addr), HEX);
  Serial.print("\nCTRL MEAS\t0x");
  Serial.print(sensor_bme280.read_reg(bme280_ctrl_meas_addr), HEX);

  temperature = sensor_bme280.read_float_temp_f();
  pressure = sensor_bme280.read_float_pres();
  humidity = sensor_bme280.read_float_humidity();

  Serial.println("\n\nTemp\t\tHumidity\tPressure");
  Serial.println("----------------------------------------------\r");
  getData();
}
The getData() Arduino function is shown below. It gets the temperature, humidity, and pressure. This function is declared so you don’t have to keep repeating same commands over and over.
void getData()
{
  sensor_bme280.set_mode(bme280_forced_mode);
  temperature = sensor_bme280.read_float_temp_f();
  pressure = sensor_bme280.read_float_pres();
  humidity = sensor_bme280.read_float_humidity();
  Serial.print(temperature);
  Serial.print(" ºF \t");
  Serial.print(humidity);
  Serial.print(" % \t");
  Serial.print(pressure);
  Serial.print(" hPa \t\n");
}
Finally, the loop function is configured. You call the getData() function and then delay it a certain amount.
void loop()
{
  delay(10e3);
  getData();
}
If everything runs correctly, you should get the following output after programming the Arduino board:
BME280 - Temperature, Humidity, and Pressure Sensor

Chip ID = 0x60

Settings
----------------------------------------------
CTRL HUM	0x2
CTRL MEAS	0x49

Temp		Humidity	Pressure
----------------------------------------------
86.95 ºF 	31.59 % 	1006.30 hPa
86.88 ºF 	31.66 % 	1006.31 hPa
That should get you going with the sensor. Now that it’s working with the Arduino board, you can use this sensor with any project. Stay tuned for a projected using this sensor.
Thanks for reading!